woodworking bench
“+10,000 Step By Step Plans …even if you don’t have a large workshop or expensive tools!“ Click Here 👈
Transcript
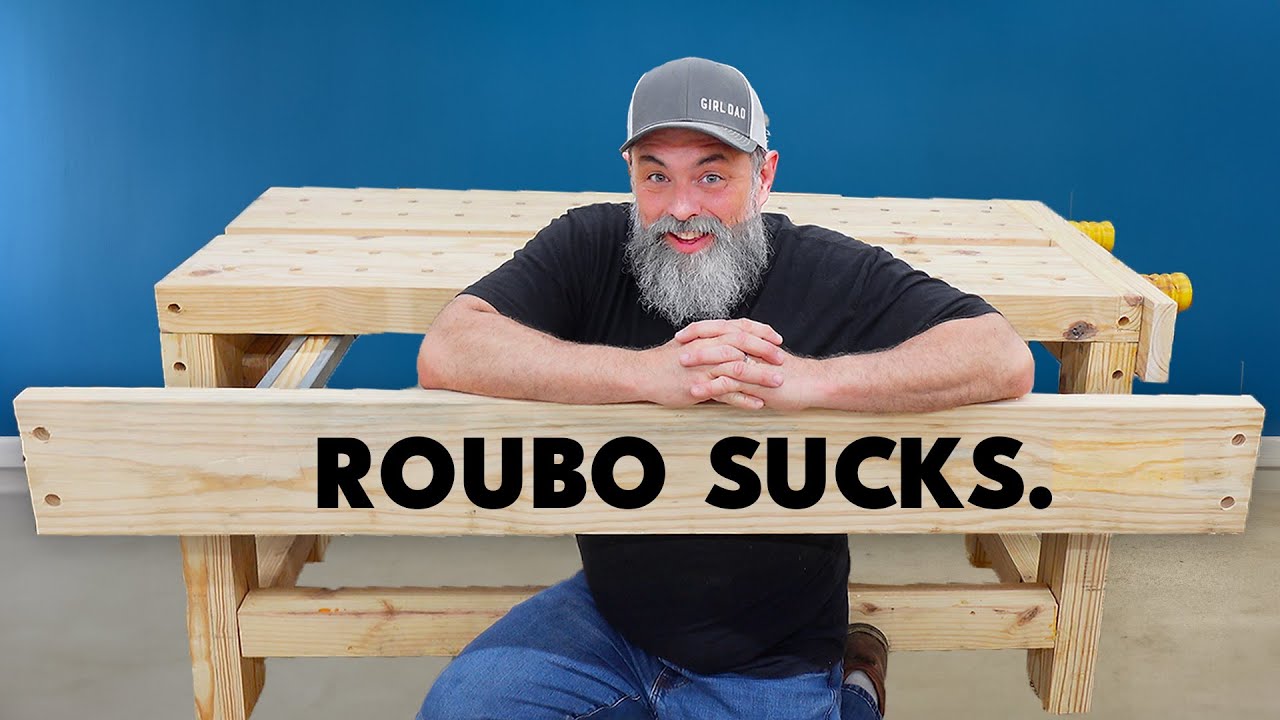
why yes this is a folding table I have plenty of other places that I can work but 90% of the time I work right here because I’m lazy and my back hurts after I stand up for a while because I’m old too I thought about building a robu or a Nicholson bench or one of those Scandinavian style benches but I don’t think any of those had suit my needs uh see I want something that I can stand up on one side and on the other side can sit and slide my knees all the way up under the bench but I want to be able to work a whole sheet of plywood from it except I don’t want it to be as big as a sheet of plywood and it should have electricity and I want to build it out of cheap lumber from The Big Box store sounds easy right we better get to work I want to build a bench around my habits and techniques because it’s easier to build a workbench than to relearn woodworking I want a slab top for doing hand tool work so we’re starting with 2x8s and we’re going to cut them down to size and make them into basically 2x4s but why not just start with 2x4s you may ask well here’s why this is a typical 2×4 here this is actually a pretty good one and what you see is the pith which is this dot in the middle of the board this was the center of the tree and this is the worst part of the board especially you don’t want to have it in the middle even though that’s typical for a 2×4 but when you get get a 2×8 you still get the pith in the middle but because it’s an older tree and it’s a larger tree and because you can cut it in half you can get that pith out of the middle of the board so instead of having something that looks like this you get something that looks like this which is much more stable it’s a Teensy bit more expensive but it’s way way worth it of course when you cut these boards apart they can be really unpredictable [Applause] [Music] well I bet you’ve never seen this before the tension in this board was so high that it actually caught the splitter within the board and it wouldn’t move anymore if this ever happens to you just stop your saw and add a shim to separate the two halves but try to do it before I [Music] did and then don’t be surprised if this happens this is the flexi spot E7 plus now I’ve worked with sstand desks before but nothing like this this thing has the capacity to lift 440 lbs that’s way more than the three of us and once it’s there it can hold 540 lbs in the air so the possibilities for something like this in the workshop are kind of crazy what’s more it goes really high this would make a really cool base for a workbench even with this lightweight bamboo top it stays in place when I playing but you know what I think is even cooler is using it as an outfeed table with the presets you can set it to a perfect height for your table saw have another preset height for your band saw and you still have two other presets for your working Heights and have you ever tried to work a long board on your drill press it just about can’t be done without help you know what it can with this but back to the [Music] project as soon as we cut those 2x8s apart and we cut through the pith the whole thing just wants to Spring apart so while it may be better in the long run in the short term it just gives us extra work before I start gluing boards together to make the Big Slab top I need to decide where every board will go some of them are prettier than others some will be stronger than others and some are just scrap Total Scrap all right I got some help because the glue up is the most stressful part you ready yeah okay [Music] get out of my workshop I love them so much all right next day slab is dry and it’s ready to go to the planer well sort of that’s not flat it is flat across this way but this way it’s like a potato chip so what you really want to do is get a long planer sled and put it on there and send it through that way but my planer sled is only 4T long and this is 5 ft long so that’s not going to work what I need is some really long router rails fortunately I have these parts from a garage door and what do you know they’re flat [Music] [Music] yeah n [Music] [Music] that made a huge mess but it did give me a flat surface I’m about to run this through the planer but before I do I need to add some sacrificial pieces to help with planer slide planer slight planer snipe planer snipe so I’m going to just glue these on with hot glue and hopefully they’ll stay we’ll see [Applause] [Music] [Applause] [Music] [Applause] [Music] I had this crazy idea that since I’d gotten one of the pieces flat I could use it as a planer sled for the other one yeah I knew it was going to be heavy but see I used to be 20 years old and sometimes I still think I am [Music] [Applause] [Music] no sir no sir planer is not tall enough and that hurts so I just took the other slab and did everything to it that I did to the first one but I won’t make you watch that now we get to work on the frame and this is where we run into the first challenge I want to build a fairly traditional joiners bench frame like this one built by J Bates but I want to make one change this board right here has got to go otherwise I won’t be able to slide my feet under the bench the question is how much will that affect the stability of the bench I guess we’re going to find out [Music] something that’s important to understand here is that these don’t actually need to be flat I just want some nice surfaces to work with so I don’t care ah come on nope that’s the wrong way I don’t care if I have 90° angles everywhere and I don’t care if one side is parallel to the other these are cross beams good enough oh we’re at it you want to know my favorite way to break an edge this is a $2 plane from Home Depot I don’t know they may have gone up now but you just flatten the bottom of it and sharpen it and it’s great now I don’t care if this is perfect right I just want to not hurt myself on it and this is a lot more fun than getting out the whatch youall it the last bit of the frame to glue up is the long Cross Beam for the fr I’m prepping the board on my homemade drum sander just so everyone can ask when I’m going to do a video on how to make a homemade drum sander it’s coming okay I appreciate your questions I’m mean to do it I just haven’t gotten to it yet this is where the surface of the workbench is going to be this is 30 and 1/4 in from the end of the board and I’m going to cut it off right there then I’m going to make a tin in here which will be a little less than 3 in long I’ll probably trim that again once I’m done now let me explain explain how I came to that 30 and a/4 in for the height of my workbench there are two rules here the first one and the most important is it’s your workbench who cares what anybody else thinks it needs to be the right height for you sitting I’m going to be able to adjust the chair to wherever I want it’s standing where I have to get it right so I imagined myself planing on this and it’s just a little bit too low okay but this is too high too high I can’t put enough weight on it too low I have to bend my back too much so I thought of someplace right in the middle and I made a mark measured up from the floor it was 30 and a/4 in so here’s the second rule technically it should be where the first knuckle of your thumb meets the workbench when you’re standing up straight and wouldn’t you know it it’s exactly the same place how’s that for a rule of thumb [Music] [Music] just look at all these beautiful tenons now I’ve got to cut the mortises [Music] this project is a great opportunity to teach my daughters about mortise and tenant joinery I was worried they might get bored cutting the mortise and the tenons so I did that part myself but the assembly is immensely satisfying and a little help never hurts as long as you keep them [Music] busy turns out princess wanted to stick around and cut some mortises it was a rainy afternoon and we had a great time it’s one of those afternoons I’ll probably never forget as long as I live it’s funny how some of the best moments in your life just come about unplanned this is why we spend the time together for moments like [Music] this I have to cut some rabbits into these slabs so I’ll have a place to put in the tool well now I realize I’m not using a high fence for this cut but if the board kicks back it’s going to go right through the garage garage door and I need to take that thing out anyway if you want to hear more about that check out my patreon that’s linked below and I say that because that’s where we’re having a lot of discussion about the workshop and if you have a crazy idea like take out the garage door well my patreon members are going to help me make those decisions you got it that is a strong table all right I’ve got my augur bit I’ve got my drill problem is this drill just doesn’t doesn’t have enough power but I do have one that’s much more powerful because of a special feature that you probably won’t see anywhere else on YouTube you want to know what it is it’s a cord this jig made out of scrapwood put the dog holes right where I wanted them and man this augur bit is awesome I’ll link to it down below in case you want it to get power to the workbench we’re going to build a basic electrical box now I’ve already built the box and there’s nothing special here I’m going to show you how to do this electrical actually there are a lot of great videos on YouTube about electrical work but I’m not an electrician and I don’t want to get sued so yeah okay a bench I can slide my legs under check electrical check but I want to make this bench expandable and I want a buil-in solution I have an idea but I don’t know if it’s going to work let’s find out I’ll be using the track from an old garage door opener but this could just as easily be done with electrical strut or galvanized pipe I’m just using this because I have it these sections slide into each other so I’m going to take the wider one and mount it directly to the bottom of the table then I’m going to take the smaller one and stick a piece of wood inside of it with a stopper and we’re going to use that to slide in to The Wider piece to the front of that we’re going to mount not an apron [Music] [Applause] [Music] [Applause] [Music] to keep that apron in place I drilled some holes and made some tapered pegs because I want to be able to use the apron as an apron this workbench is almost done I want to extend this apron down a little bit lower this is going to be the standing side and I want to be able to hold boards on the apron so we’re going to work on that and then we’re going to add a twin screw Vie at the end I think a workbench should ideally be as unique as a Craftsman that uses it I mean the time tested designs have lasted for good reason but you know what the guys that made those didn’t even have electricity or Home Depot for that matter so I think that you should feel free to experiment just a little this is boring the reason I’m uh boring holes at the end of the bench is to add a twin screw Bice it’s a pretty simple concept I stick two threaded rods in the bench and enclose a modified wing nut so that it can screw in and out I left one handle on the wing nut so that it doesn’t just spin around in the hole then I can add a board on the outside and screw it in to hold things in place I drilled holes here here and here I’m going to connect these two to make a slot and you need that so that your screw can move around when you want to clamp at an angle like for taper legs stuff like that yeah I made these knobs out of an oage orange log from a tree and this is how this works this thing moves wherever you want it to these have a nut embedded down in them so that when they turn the screw turns and I can put anything that I need down in here and I just close up both the knobs and it holds it really really tight that’s not [Music] moving I wonder how long this workbench is going to be around I wonder someday if my daughters will sit down with their kids and tell the story of how we built it together I hope it has half the meaning for them that it does for me now before you go let me let you in on a little secret a few months ago there was some Silence from this channel because I had to go into the hospital to have a minor procedure now it was no big deal and I’m not saying that so you’ll worry about me I’m fine but it required me to be put under anesthesia now as soon as I woke up from anesthesia the only thing I wanted to do was make a video for you my YouTube audience my wife was kind enough to hit record on her phone and it’s unbelievable if you go to patreon and you look at the free tier you don’t have to pay anything you can watch that in its entirety it’s not available any place else trust me it’s worth your time thanks again to flexi spot for sponsoring this video make sure you check out the link below to the E7 plus and their other great offerings thank you for all the support you’ve given us here at worst workshop and we’ll see you in the next video [Music]