free wood working plans
“+10,000 Step By Step Plans …even if you don’t have a large workshop or expensive tools!“ Click Here 👈
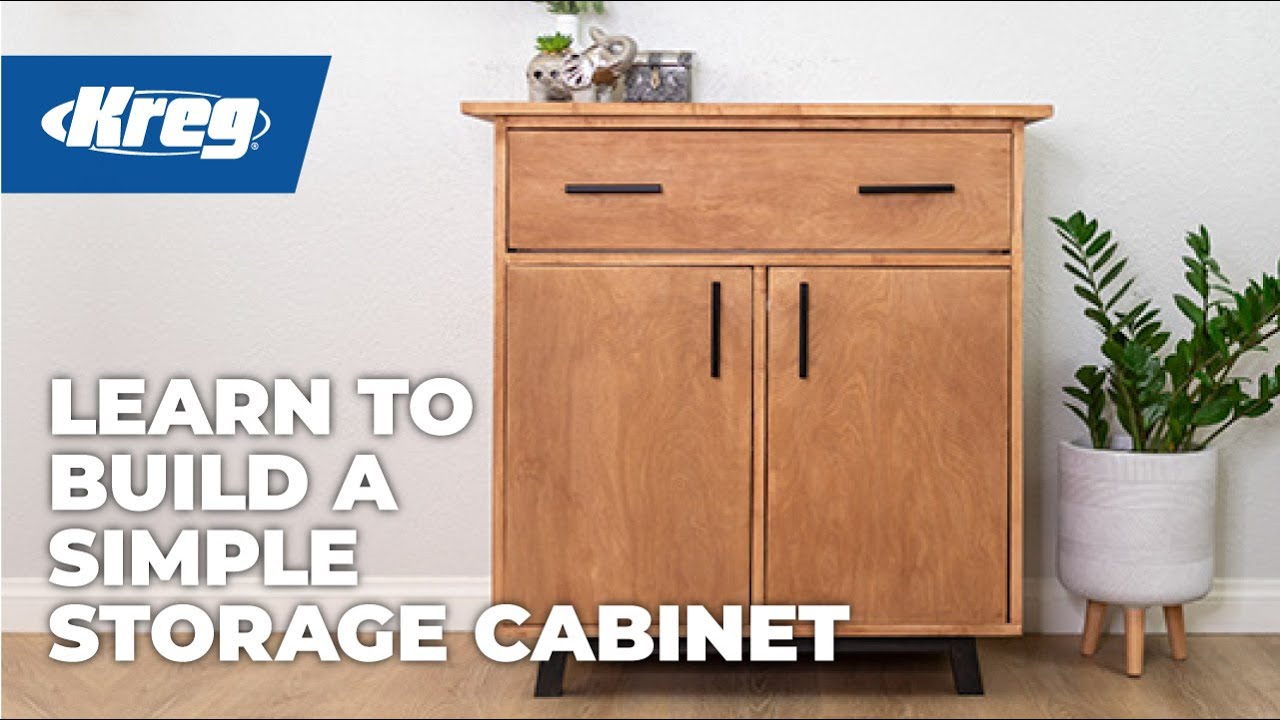
hey everyone i am anika from anika’s diy life and today i am very excited to be here partnering with craig on their youtube channel we are going to be building a simple storage cabinet it’s a super simple project and it is a very versatile piece of furniture it is built almost entirely with three quarter inch plywood with just a few two by twos for the legs the entire cut list dimensions and step-by-step project plans are available on cracktool.com as well as in the description below before we start building be sure to hit subscribe to the craig channel for lots and lots of tips tutorials and project inspiration now let’s get building the cabinet uses just a little over one sheet of plywood the plans include the exact dimensions as well as the cut diagram for the plywood my car doesn’t fit a full sheet of plywood so i usually have it cut down to a manageable size at the store and then i cut it down to exactly the dimensions i want using a circular saw at home the cabinet is 18 inches deep so there are a bunch of cuts that are made at 18 inches i set my rip cut at 18 inches and made a bunch of the cuts i like that i am able to reproducibly make those 18 inch cuts without having to measure again and again i use the rip cut to cut the thinner dividers as well the rip cut only goes to 24 inches and there are a bunch of 30 inch and 28 inch cuts so i used the straight edge guide for that for simple crosscuts i just took it over to my miter saw and cut it down and so we have the top the bottom the two sides we have the cabinet divider we have the rails the two doors and the drawer front alright now it’s time for pocket holes i am using the correct 720 but you can use the 520 or the 320 as well the project plans have all the details of exactly where the pocket holes are placed [Music] this is three quarter inch plywood so i set the drill bit collar at three quarter inches and i went ahead and made the pocket holes [Music] the great thing about the 720 is that it has these wings that can be pulled out to support wider material or if you have really large sheets of plywood you can turn the 720 on its side and make the pocket holes now before we assemble edge banding i applied edge banding to all of the edges that would be visible in the finished product so all around the top and the bottom the front edges of the sides the front of the dividers as well as all around the doors as well as the drawer front edge banding is essentially a thin strip of veneer with hot melt glue on the back so you can simply use a household iron to iron it onto the edges and then you can use an orbital sander with 220 grit sandpaper at a low speed to sand away any excess edge banding this gives a nice seamless finish to those plywood edges now let’s assemble the first step is to attach the sides to the bottom to make sure that the side and the bottom are aligned i clamped a scrap 2×4 board onto the workbench then i can simply push up the bottom edge as well as the side against that 2×4 as i add the pocket hole screws in next i added the rails that will be supporting the top but before adding the pocket hole screws this is a good time to make sure that the entire box is square so i measured the diagonals to make sure they were equal adjusted for it and once i was satisfied i went ahead and added those pocket hole screws for the center rails i simply use the divider to mark exactly where the rail would be now these rails need to be perfectly perpendicular to the sides so i decided to use the drawer slide jig to support the rails to make sure that they were aligned and level i repeated that for the back rail as well now for the divider i measured and marked exactly where it needed to go which is the center of the cabinet made sure it was square and level and then attached it using pocket hole screws this is a good time to make the shelf pen holes i am using the shelf pin jig to make the pin holes for adjustable shelves on both sides of the cabinet now let’s build the drawer boxes i use my multi-mark tool to set the depth of the saw blade i cut quarter inch dados on the sides of the drawer box so i can slide in the quarter inch plywood for the drawer bottom [Music] i’m not using a dado stack just a regular saw blade so i had to make a couple of passes across the blade to get the quarter inch groove i am using larger strips of plywood to cut dados into so i don’t have to deal with small pieces on the table saw once the dados are cut i simply take it over to my miter saw and cut them all down to the exact sizes i need for the drawer and then i went ahead and built the drawer box making sure the pocket holes were on the outside once the three sides were attached i slid the drawer bottom into place and attached the fourth side now you see i have a couple of extra pocket holes over here this is a good reminder for you to make sure that you check that your drill bit collar is tight enough if it’s not it’s going to slide as you drill that pocket hole and that is the drawer box now let’s attach the drawer slides since we already made sure that the rails were level we can simply place the slides on the rails i used a piece of scrap plywood to lift up the slide i made sure to leave enough space in the front for the inside drawer front and then i just went ahead and attached it to the cabinet frame once the drawer slide was attached to each side of the cabinet frame i added back the other part of the drawer slides i added a sheet of quarter inch plywood to help lift up the drawer box as well as support it then i aligned the drawer slide to the drawer box and added a couple of screws after adding about two screws on each side of the drawer box you can actually take the drawer box out and then add the remaining screw and that is it that is the drawer box but we are going to take it back out because now we have to attach the top to attach the top i place it on top of the cabinet [Music] use my multi mark tool to make sure that it was equal distance on the front as well as on both sides once i was happy with the placement i went ahead and clamped it in place then i added pocket hole screws in the sides to connect to the top i realized that the 90 degree pocket hole driver made life so much easier to drive pocket holes into those tight spaces we also want to add some countersunk screws to attach the top to the rails to do this i decided to use the quick flip in combination with the 90 degree driver with the quick flip i can drill a countersunk pilot hole and then use pocket hole screws to attach i went ahead and added a back support to the back of the frame now structurally this is not required but this is something you can use to anchor the cabinet onto a wall to get the doors ready i used the correct concealed hinge jig to drill the cup holes for the hinges now let’s build the legs the legs are built using 2×2 boards they’re cut at a 10 degree angle so i like to set my miter saw at that angle and make all the cuts at one time for a consistent angle i like to cut off the end of a board and use that as a template to help guide me with the direction of the cuts we have four legs that are cut as parallelograms two long aprons cut as trapezoids and two short aprons to make pocket holes in the two by twos i set my drill bit collar at the one and a half inch setting making pocket holes in the angle stock can be a little bit tricky but you just have to make sure that the whole placement is such that it does not come out on the sides which is why i can only make one hole on each end of the angled cut i started by building the long side using the long apron and two legs i built two of these then i attached the short aprons onto one of the long sides and then attached the entire thing together to build the entire base now it’s time to stain i am using a water-based stain in early american for the entire body of the cabinet the doors and the drawer fronts and for the base i stained it in dark ebony i also followed all of that with a protective top coat once everything had dried i went ahead and attached the base to the cabinet body i made sure it was centered using the multi mark tool and then i used the quick flip to make countersunk pilot holes and added two inch pocket hole screws now let’s go ahead and attach those cabinet doors i attach the hinges to the doors and then i use the cabinet door jig to help support the doors as i attach them onto the cabinet frame [Music] and i also added a magnetic stop latch now let’s attach the door front i’m going to be attaching two drawer poles i’m going to measure and mark exactly where they’re going to be i like to use masking tape on my drawer front so i’m not marking the actual drawer front i set up the craig hardware jig to the exact dimensions i needed for my drawer pulls and i went ahead and made the hardware holes now i can simply place the drawer front in its spot add some shims to make sure it’s evenly spaced on all sides and now i can go ahead and add some temporary screws through the holes that i created for the hardware once the screws are in the drawer front is tightly in place now i can open it and add some countersunk screws from the inside of the drawer now i can simply go ahead and remove those temporary screws and then go ahead and add the hardware and i also use the hardware jig to add the pulls to the cabinet door fronts i added the shelf pins and the shelves in place and lastly i added a backer board to the back of the cabinet using some staples and this is it it is a pretty straightforward build if you do want to anchor it to the wall you want to remove the drawer anchor it in through the back support and then add the drawer back in the full free detailed plans are available at cracktool.com as well as in the description below and be sure to hit subscribe to the correct channel so you can get all the inspiration tool tutorials and tips thank you so much for watching bye …