wood magazine plans
“+10,000 Step By Step Plans …even if you don’t have a large workshop or expensive tools!“ Click Here 👈
Transcript
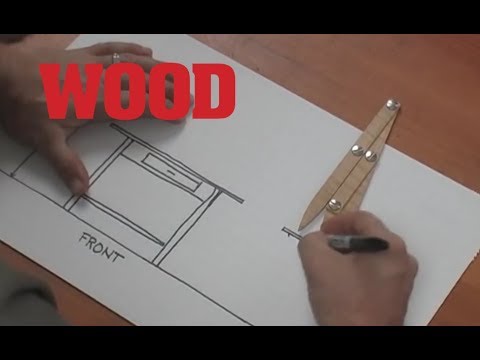
if you’ve ever designed your own woodworking project you may have had troubles trying to find the right scale and proportion of the elements that make that design look just right in Greek times there was they noticed that there was a common ratio in nature that made things appealing to the eye that ratio is 1 to 1.618 this is often times referred to as the golden section but numbers really aren’t important it’s the ratio that is and to help with that we came up with a Fibonacci gauge this gauge always retains the ratio of 1 to 1.618 no matter how narrow or wide the gaug is spread and let me show you how that works that ratio can be seen here from fingertip to knuckle and knuckle to knuckle and as I expand the caliper you can see it goes to the length of the finger and that same ratio up to my wrist now let’s look at it in the Parthenon the width of the building the full length versus the height can also be broken [Applause] down the lower element to the roof element and even further the height of the freeze as part of the roof element now let’s look at a project that we designed recently to show how to find the location of this fixed shelf now let’s design our own piece of furniture often times when designing a project you must start with a critical Dimension the length the width or in this example our tabletop on this table will be 30 in high that is our critical dimension to find its length we set the ratio the gauge at 30 in as a smaller portion of a ratio to find the width 30 * 1.618 is approximately 48 1/2 in with that given length we now want to find out where to place the legs and in this instance we’re going to set them at that 30 in centering that 30 in over the width gives us a location for the legs now we have the basic table form to add a shelf and a drawer we return our caliper down to 30 in and use 30 * 61 18 and we get 18 1/2 in let’s Center that over its height and now we have the location of a shelf and the height of our drawer apron we can also take that in this example and set our drawer width now let’s add a couple things like the thickness of the elements a 3/4 in tabletop maybe inch and a half wide legs and our shelf and there’s a basic table with the front elevation complete let’s draw the side view to determine how deep our table is going to be we can make a square table we can make a rectangular table or and use any dimension in any proportion from those because we’re you using elements of the design to determine the depth we keep things in proper proportion for this table it’s a h table 12 in is about as far as I want this table to project from the wall to find a good 12in Dimension maybe start from the height and we found that this was 18 1/2 leaving 11 1/2 in that will be a good close Dimension to 12 so here is our table top now we need our legs the distance between the legs can be found using the proportions right here so there’s our location of our distance between the legs we have our inch and a half table legs that we designed earlier so I’ll draw those in we’ll transfer over our apron and the location of our Shelf after completing the elevations I threw the dimensions on I drew this on graph paper so it was easy to figure out what those were going to be don’t be too precise at this point remember we got to go out in the shop and build this project so 8 in and qu in Dimensions just round things off so it’s easy to achieve so now that you’ve seen how easy it is to design a project using the Fibonacci gauge apply it in your shop apply it in your designs good luck