solid wood workbench
“+10,000 Step By Step Plans …even if you don’t have a large workshop or expensive tools!“ Download Today! 👈
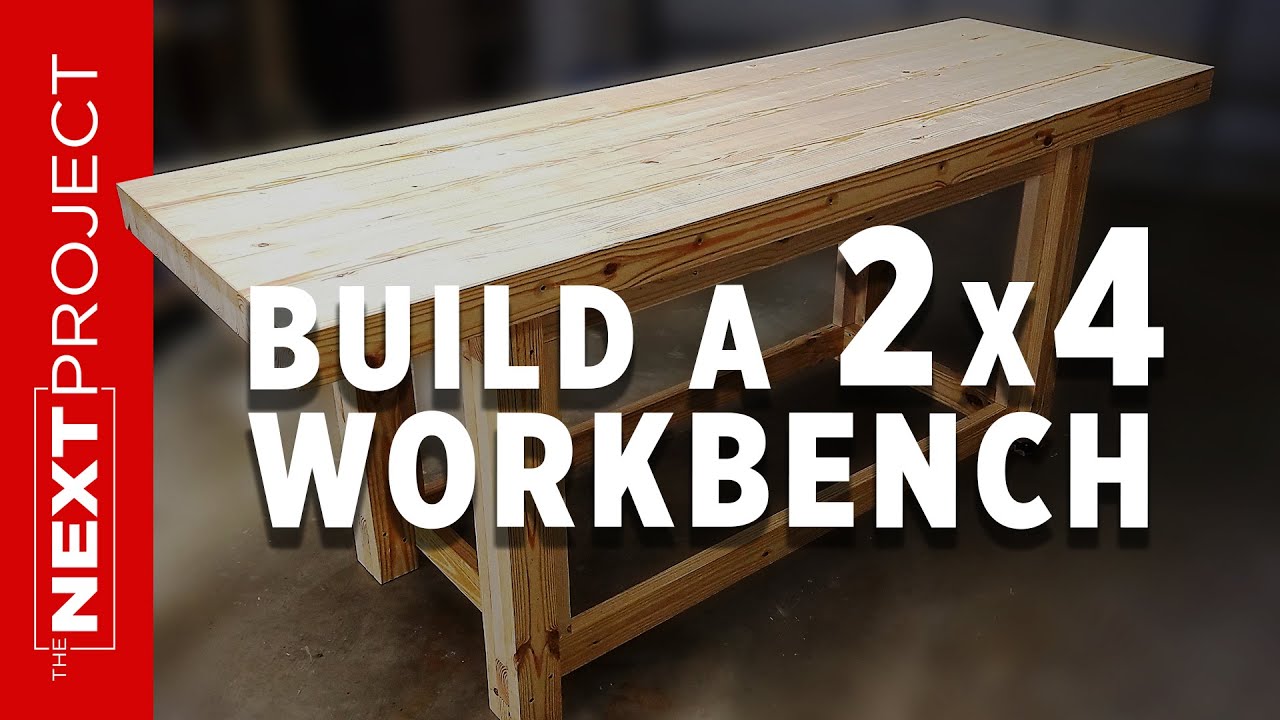
foreign welcome to the next project today I’m building a workbench with a butcher block style top out of construction grade lumber for about 125 dollars it can still be done let’s start the next project this video is for those of us who’ve worked on trash cans and chunk of plywood or a solid Corridor maybe upgraded to saw horses but in this video we’re going to make a little bit better bench for about 125 dollars plus accessories [Music] as with any task we need to do a little bit of prep work here I’m protecting a nice floor in a garage and building some saw horses or I think we’re going to turn them saw ponies basically they’re just risers to get all the work that we’re going to do for the top itself up off the floor foreign hopes of making a nice smooth top we need to make sure these risers are Level across the top between the two there’s a few ways that I went about doing this I ran the string in a cross pattern I ran levels on each I use my eyeballs to cite it and also a laser and measured quickly for accuracy and here I’m taping the string to the edges yes you could use nails or something and the trick here is if one corner is up or down the strings in the center will either Gap or push on each other here’s the laser I’m quickly going through it another thing you have to make sure of is that the top of the two boards are true to each other you don’t want them to have humps or waves or bows or anything weird they need to be straight and true here we’re calling the herd we’re going through all the lumber that I picked up for this job choosing the best pieces for the bench top itself the other pieces will be used for the legs and the cross members underneath foreign [Music] with the top pieces all squared on one end I started some measurements I’m going to cut away three inches on either end of this whole slab and inset from that another three inches in either end which leaves me with a 12 inch on Center spacing for what will end up being the clamping to hold this together during glue up foreign this is a simple drilling guide that will be clamped to the table of the drill press it will help ensure that the spade bit that I’m using is hitting in the center of all the boards [Music] 12 inch on Center marks that we put on those boards I’ll be able to line it up and punch them all in exactly the same place so when we get ready to clamp all of the clamping that we’ll be using will work perfectly [Music] oh we’re getting all the clamping holes drilled it’s going pretty well I’ve got myself a little guide set up on the drill press so I can always drill in the center of the board and it has a little centering line so I always hit my mark As far as where to put it space wise on the length of the board which is the lines I drew across Hollow boards 12 inch on Center and then my guide at the drill press centers the drill bit on the board itself so I just punch them out eight holes per board ah my 20 boards I think is what I’m using What’s That 160 holes is that right math I don’t know a lot a lot of holes let’s continue the next project [Music] all of our boards have been called and we have drilled all of our clamping holes and all now I am struggling and to run all these through a planer this is just laying on the floor making a racket I actually had a couple neighbors walk by and go what are you doing in there they didn’t understand I was just making a bunch of noise so uh you know now there are a bunch of for sale signs in the neighborhood I guess they don’t like noise okay we’ve got all the boards uh called I guess it is lines drawn for all the clamping holes all the clamping holes drilled cut a French cleat Edge a bevel on the far the back um board and that will be so I can push this up against the bench the wall and drop it into a cleat and it will kind of lock it to a wall without actually bolting this to the wall then I ran all of them through the planer twice on one side and a single pass on the second side just to make sure they’re all pretty much uniform width throughout the length of each board I had priced getting like a messy or similar style parallel clamps to clamp This Together figured I’d need one about every foot that would be eight clamps uh figure 50 bucks at a minimum for a three foot clamp maybe sixty dollars and more accurate that’s a lot of money that’s more than I have in the rest of the bench build altogether so we’re using threaded rod and nuts on either end and uh drinking straws the jumbo size drinking straws over the middle of the threaded Rod that run through the the body of the top that’s so I can get the rods out later there’s a dog barking in the background hey we’re working in the wild let’s continue the next project for a moment I thought about buying parallel clamps to put this project together but the realization that parallel clamps are insanely expensive changed my mind a pair of parallel clamps is about 120 dollars and I’d need four pairs so that’d be 480 so I’m going to use threaded Rod coupling nuts and Fender washers for about fifty dollars [Music] I’m not considering the expense for clamping as part of my total build cost because if I bought parallel clamps you wouldn’t consider that part of your bench top cost I did choose to go with threader Rod this is 5 16 inch rod and I’m cutting it off to three foot lengths you could use a hacksaw for this or if you have a really good karate action you could try that but I used a little cut off tool and I’ve got the coupling nut a jam nut and a couple washers on there and I’ve also picked up a pack of jumbo drinking straws that will slide onto the threaded rod and this is going to keep the glue from bonding the rod into the holes clever [Music] adding a little duct tape to the top of the risers that I’m going to be using to glue on this is just to help keep any squeeze out from bonding the top to those panels I’m using a 3 8 inch paint roller to apply tight Bond and just slathering it on trying to get plenty in there stacking up the pieces squeezing them together as I push them into place and putting the threaded rods through the holes and of course you know you have to give it a little persuasion have to tap it with a hammer here and there but overall it went really well [Music] we’ve got the bench top all glued together uh used a 3 8 inch nap roller on an extension handle and just basically painted the tight Bond original glue onto the surfaces flip them up um got them all sandwiched together use the threaded Rod which is 5 16 inch threaded Rod cut to three foot lengths used coupling nuts and Fender washers on either side tightened it all down put a couple two by four calls one on either end clamped it to my uh we’ll call them saw horses they’re just uh foreign two by sixes that run across to get everything up off the floor so I can clamp it together I saw horses uh yeah whatever I don’t know there so this needs to dry for at least a day but it’ll be next weekend when I get back to it so let’s get on to that and start the next project now that the top is all glued together it is time to get it level I’m using some two by fours that are nice and straight some MDF and some other two by fours to make a routing sled and I have to stress use good quality straight material for this or you’ll ruin your top it’s time to start leveling the top now that everything is cleaned up I’ve got my side rails on um they are Level end to end and true to plane of the top as close as I could get it I checked it like three different ways um so it’s as good as I can get it another thing to realize that the rails have to be true across the top of those if they’re wavy then I’m just cutting a wave into the top of the bench we don’t want that so I’ve taken a little bit of time to straighten the top of the outside rails that I’m going to use for my router sled there’s my router I’m using a two inch wide flat bottom two flute or two cutter bit and that I’ll show a picture of it and a homemade temporary routing planing sled that will ride just on top of the outside rails about a half an inch off of the top of the bench oh that’s a lot let’s get making wood chips [Music] when I first started planning this project I was going to make the top in three or four separate sections and run the whole thing through my planer again I don’t have an industrial planer and those separate slabs would have been really heavy also and it would have been a problem so I decided to go with the router planing method and it worked really well it actually took me 22 minutes as we’re seeing here about fun fun to make one pass across the top that was fun [Music] first pass of using the router as a planer on the top of the bench went really well I took off less than a sixteenth of an inch close to it but not quite and this gave me my initial level so I can see where there are low spots I will be going back with a second pass on the top I’ll probably only do one pass on the bottom just to level it out get rid of any extra glue drips that are down there just on the bottom so I have a good mounting surface for where the legs and future Cabinetry tie into but for the top I’ll give it a second pass just to catch the few other little shallow spots that are probably 30 second of an inch or a hair more than that low and it’ll be ready for final uh leveling and finishing after the legs and everything are on when it’s right side up again so let’s hit it again with a second pass I probably won’t show you because it’s just more of the same but it’s time for me to get back to it [Music] when I was planning this project I decided not to make the legs tie directly into the top with a mortise and Tenon like you see so many other builders do I wanted the top to be removable for a couple reasons one for future leveling of ease maybe I need to flip the top over and use it the other way also if I ever move again I want this to be almost manageable total weight of a bench the top alone is around 200 to 220 pounds as it is right now so it’s very heavy the base will probably be another 200 pounds when it’s all done including future Cabinetry that’ll go into it I’m trying to make a product that can come apart into almost manageable pieces here we’re putting the legs sections together I’m really kind of building in a mortise into the leg that the cross pieces will then glue and screw into [Music] foreign [Music] [Music] now we’re putting the base together one side at a time and squaring the legs to the rail that will actually screw to the bottom of the bench the blue tape on the bench there is just to help keep me sanitary keep a little bit of extra glue off the bottom of the bench squaring everything gluing and inserting the other cross piece for the leg assembly the base assembly it is glued and then also screwed I used some construction screws to put it all together with one side done I used it as a template or a guide to put the other side together so they do match up foreign [Music] screws in to hold the leg assembly the base to the top itself I marked on the bottom of the bench for alignment did some measuring always use a measure measure measure measure putting in some other cross pieces to hold the two first leg assemblies to each other it’s really pretty simple assembly and again I’m building it so it can come apart in the future if needed and it will also be so heavy that it really shouldn’t go anywhere since I’m not using a mortise and Tenon of leg to top necessarily so I think it’s going to be safe this bench is heavy heavy heavy heavy [Music] well I’ve been working through this design I’m keeping my mind on some issues that typical benches have like side to side movement or front to back movement or some rotation movement as you use the bench and this is base related stuff quite often this bench will get some upgrades in the near future a back a base like a shelf to it and sides which will all help take care of these stability issues other things I’m going to do right away will be put on some casters and some Cabinetry will be coming soon [Music] [Applause] it’s time to take this and flip it over here so it’s right side up basically taking a capsized vessel and turning it right side up again well maybe not again for the first time this is at least a two-person job and my dog refused to help me so here we go wish me luck got my back brace on fingers crossed let’s get it going [Music] foreign [Music] a little belt sander and hit the top knock the fuzzies off and it’ll be ready for any top finish work that you would want to do I’m going to fill a few little knots in the top of some epoxy I don’t know if it’ll be today it’d be soon it’s also going to get some Wheels put on it so I can move it around it uh it will slide on the concrete I’m sure it does a nice smooth floor but not everybody has that let’s wrap up this project [Music] total damage was 117 so basically 120 dollars to build this bench if you’re interested in building a bench take the time to figure out what it is you need a bench for and make a bench that will help you achieve your goals don’t just copy me or anybody else but figure out what you need in a bench it doesn’t have to be super fancy it can be very simple in fact I would like to thank everybody for watching for hanging out with me for uh Rolling Along through this project if you find something you like you know hit the thumbs up button please leave a comment ring the bell subscribe if you haven’t already take care of those around you and yourself until next time take care bye [Music] …
“+10,000 Step By Step Plans …even if you don’t have a large workshop or expensive tools!“ Download Today! 👈