making boxes
“+10,000 Step By Step Plans …even if you don’t have a large workshop or expensive tools!“ Yes, Get Access To 12,000 shed Plans! 👈
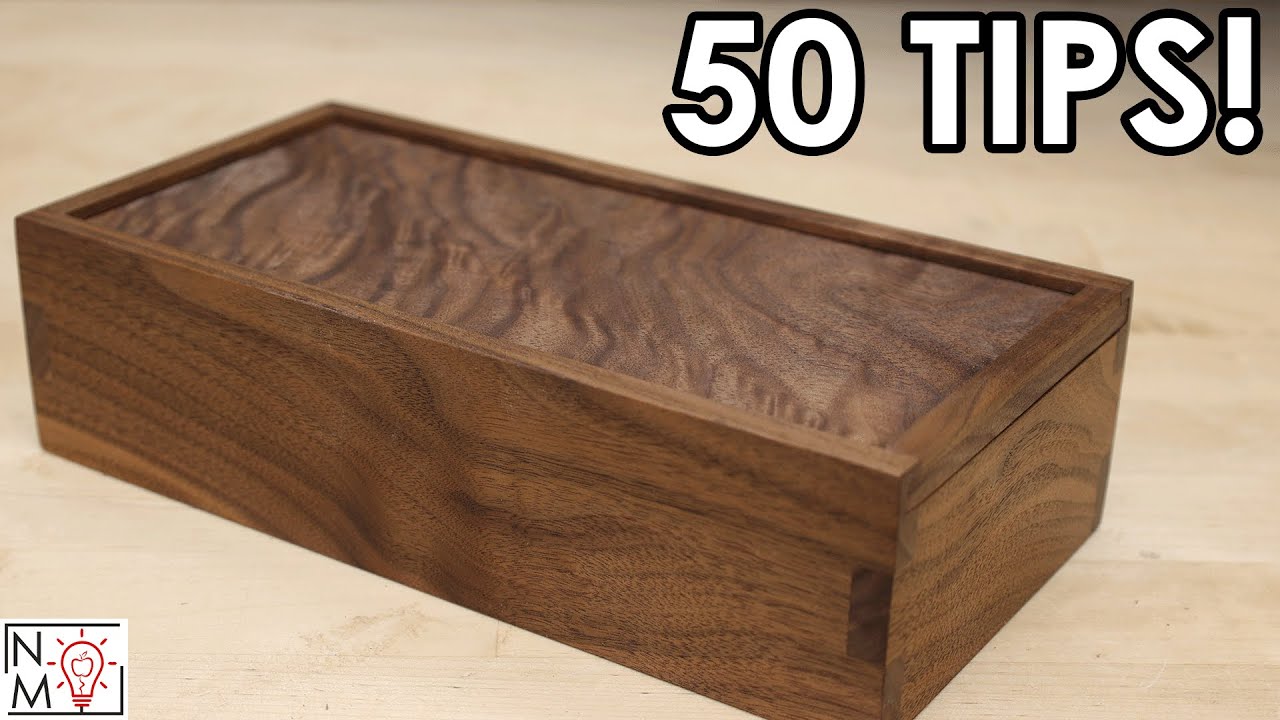
as a woodworker sometimes I make stuff like this but in order for me to make this type of stuff I need these I got a lot of these and I need to put them somewhere so we’re going to make a box and in doing so I’m going to go over all the tips and tricks and random things that I’ve learned over all the Box making times that I’ve made boxes I don’t know if that fully made sense but it did up here what I’ll do is whenever there’s a good little trick or something I’ll just um put it down here somewhere here’s kind of the general rule of thought the golden ratio it’s said to be visually the ideal ratio between one thing and another thing which to us is going to be the length of the width to calculate the golden ratio we just need to know the number 1.618 if we know that the box is going to be a certain width we just take that number and we times it by 1.618 that’s going to tell us the length of the box it works the other way around too you can take the length of the box and then divide it by 1.618 and it gives you the width now obviously none of this matters if it doesn’t serve its function so it’s kind of like a guideline not the rule obviously here’s how I know the golden ratio actually makes sense my visual rule for boxes is 5 by 8 and that was before I even knew what the golden ratio was well then I learned about the golden ratio and then I saw that when you do the math it’s creepy right as far as the height goes I usually go with about uh 3 in but you know these aren’t very thick so I’ll probably go a little bit smaller just to save room I spend a lot of time working on materials because frankly if I’m going to spend all this time making a box I don’t want to look like booty so you know I’m going to take the extra [Music] [Music] effort we’ll try this one I cleaned up one face over the Joiner so we can actually see what we’re working with not too bad really there’s a really nice flowing grain down the sides of it that’s going to be perfect for the long sides of the Box you don’t want to have the stop start of the cathedral grain the flat song cut that’s in the middle of the board the problem with having that is visually it just messes it all up instead of having that flow it’s just this choppiness and it really makes the box look a little bit smaller than what it really is I want to find the best looking Grain on the board I’m going to use that for the long sides and then any of the pieces that are not so great but I still have to use them I’ll put those on the ends on the short sides because well there’s less material there so you won’t really notice as much based off the thickness of this board next step is is uh cut into pieces maybe you thought I was going to say something way more insightful than [Music] [Music] that this isn’t a very big box so I just resold my boards in half that saves a little bit of material which in turn saves a little bit of money as far as the thickness of the Box sides go-to number about 38 you can go a little bit under you can go a little bit over but usually 38 is about that sweet spot now if you start getting a little bit wider than that then I would say the Box probably should get bigger because otherwise it looks kind of kind of chunky nobody wants a chunky box good rule of thumb is always check that blade make sure it’s at 90° to the table and then check your miter gauge make sure it’s 90° to the blade don’t assume it’s already at 90 because it may not be I squared up the ends now here’s something that often gets overlooked that’s using a stop lock even if you’re just cutting one side we’re used to setting a stop block we want to cut a particular size but in this case I’m not really looking for a size I just need to make sure this end is square oh you hold the board against that fence and you make a cut but you don’t have a stop block here it’s very easy for that board to kind of move a little bit and then you don’t have a square in so I always recommend a stop block even if this side is still rough when you make the first cut on that end check it and make sure it’s actually 90° because nothing’s worse than making a cut and then you already think it’s 90 you flip it around you cut the other end now it’s the perfect size you want you put the square up to it and you realize it’s not Square so check the first one before you cut the second one you better check yourself before you wreck yourself what I like about resawing boards is now you can do some cool wraparound grain effects because I take my boards and I Flay them out I get a book match panel kind of like you would do for like a cabinet or something but now I can rotate them and put them in to end and I can see that the grain flows from one board into the other and the same thing works if I flip them around and I put the other ends together the grain just flows into the next I have a whole video on how to do wrap around grain for boxes so I’ll I’ll try to link it down in the description if you want to check it out at this point it’s time to cut these two pieces and to four pieces so back to the table [Music] saw time for jiner and well I got a couple options I could go with miter joints one of my favorite joints they’re also one of the weaker ones and I’ve done a lot of them recently I could go dovetails which is probably the strongest joint but I’m not really a dovetail fan so I think I’m going to go in between do box joints if you already have a curve in your sled or your miter gauge put a sacrificial board to cover it up this will give you a clean surface otherwise if you lower your blade below the curve that you already have cut you’re going to get some tear out when cutting joinery if you rotate your board around you’re going to get perfectly symmetrical Cuts keeping this in mind it’s best to cut both sides before you move that stop lock Adat stack works great for joints but if you you don’t have one oper a flat tooth ripping blade cuz that’s going to give you a clean squared off cut for your joinery when cutting large box joints you don’t actually have to measure the mating piece for each joint line them up place a mark and cut them that easy cut away material till you get close to the line then set a stop block and sneak up on that fit or you can just watch the video that I have that’s dedicated to this entire process I’ll put a link down in the description [Music] not too bad so now I got to cut Groves for the top and the bottom well there’s two ways to do that I can go over the table saw and cut them or go to the router the thing with the table saw is I’m going to have an entry point and an exit Point as that blade goes through and well I’ve got the the box joints there that means you’re going to see a notch cut out and you don’t want that instead I’ll go over to the router table and I’ll do a stop cut so I’ll stop the bit just short of exiting the board that way it won’t be a hole there when I cut the channel for the top and the bottom I want to make sure that I have at least an eighth inch between the top and the top edge here anything less than that I don’t know it just feels like it could [Music] [Music] break [Music] automobile manufacturers spend a considerable amount of time and money on the sound that their door makes whenever you close it because whenever you close that door and you hear that deep thud your brain perceives that as Ooh this is quality and most of the time you don’t even realize that you think that psychology same thing applies to box bottoms if the Box bottom is thin then it doesn’t sound as good listen to this this one’s a little bit thicker not much a little bit thicker though a deeper thud noise so this is what I recommend I would say don’t go under a quarter inch you start going under a quter inch you hear that tap noise compared to that thud noise so always go/ quter inch 5/16 yeah that’s a good measurement you don’t have to measure the length in width of your box bottom just put a combination Square in there set it put it up on each Edge and and place a mark you put your box bottom on that and Mark where those marks are at you can do it this way too whatever you marked across the width of it remove maybe about a 16th of an inch extra that gives you a little bit of wiggle room in case that board expands and contracts over the seasons it doesn’t break your box for something like this you don’t need to cut off a whole lot [Music] the front of the box has to be shorter than the rest of it because that lid is going to slide in and out whenever I was at the router I did Route a channel for the lid even though I didn’t need it the reason being is because now I know exactly where to cut so I just have to cut from where that channel is up to the top Edge remove that part I’m good to [Music] go [Music] [Music] [Music] he [Music] to sand the top and the bottom edges of boxes sometimes you know the top of the bottom is not exactly perfect some sandpaper on a piece of MDF or plywood works perfect for this we need a lid for the box and when it comes to Lids my take on it is have fun use like the craziest figure you can find or use like contrasting Woods whatever it is just this is your opportunity to really have fun with it for this one I found a piece of Walnut that I had sitting over to the side and it is beautiful all kinds of nice grain and is going to elevate the look of this box [Music] that is a good-looking lid last thing it needs to go on here is something to be able to uh pull it out right usually just take a chisel cut a little divot in that lid you put your thumb in air and you can pull the lid out or you can do what I do which is just take a piece of scrap wood and it’s the same width as the thickness of the Box sides and just drop that dude in place and it looks like it was always meant to be there I know somebody might be worried about this piece being glued across the grain of the lid I can say that I’ve made a million of these I’ve never had a problem with that we’re also dealing with very tiny pieces that aren’t going to move very much but you got to go off your own [Music] experiences now it’s time for one of my favorite parts of the whole box making experience which is applying that first coat of finish on it now when it comes to finishing I recommend something that has a close to the wood feel as in if you put a bunch of lacquer and poly all over this you put a bunch of coats on it then it kind of feels like you’re touching plastic and not wood instead I would prefer like a an oil a hard wax something where it actually feels like you’re touching the wood itself and plus they’re just beautiful and if I do use poly I like to thin it down a little bit of mineral spirits and a little bit of tongue oil in that it’s a good combination for a [Music] box know [Music] it’s you know [Music] this box is a little bit too classy for srel saw blades I’m 100% sure that I will definitely keep all my stuff organized in this box and it won’t end up scattered anywhere around the shop it’s all the little touches with this one the wraparound grain the bigger box joints and oh the Walnut oh the Walnut if you want to see how I made the gorilla wearing a hoodie head on over to my second Channel Newton makes art it’s all scroll saw stuff so you might like it and a big thank you to the supero community over on patreon for voting on this dude and putting me through my Paces you guys rock and to meet again get in your shop and build something awesome …
“+10,000 Step By Step Plans …even if you don’t have a large workshop or expensive tools!“ Yes, Get Access To 12,000 Shed Plans! 👈